It has been a while since my last post, but I haven't been entirely idle on the modelling front. I wanted to create some urban terrain for regular wargaming, and I thought I might try a little zombie bashing, and 5150 New Beginnings. I have had a number of buildings from Mad Mecha Guy, pictures posted before, but I wanted to make a bit more of them. So, I attached them to some 150 X 150mm MDF bases (from Warbases) to give a little uniformity, and the appearance of a prefabricated colony. I also wanted a scruffy and neglected look, so used a few washes, yet this isn't apparent from the pictures.
First up, a single storey commercial establishment with a suitably unspecific name. All the bases of these buildings were marked out with a fine permanent marker, then the joints dry-brushed with GW's Bestial Brown. I think I may have been a little over-enthusiastic here, as less is probably more.
Now a two storey 'shop' with posters printed out from a quick trawl on the internet, and the sign on the roof made from an offcut of MDF that came with my order from Mad Mecha Guy- Joseph doesn't waste much, and sent me a nice selection of bits and pieces with my order.
A two storey habitation block with a feeble attempt at some graffiti....
and Quite obviously a severely un-secure banking establishment. I couldn't think of anything clever for the name so stuck to the obvious. These rooftop signs aren't glued in anyway, just held with a couple of 'pins' so I can change them when and if.
Another two storey commercial property with different window configuration.
I could have done a bit more with this 'shelter' but by this time at night my enthusiasm is waning!
Police Department- very utilitarian. I used the aluminium mesh that you can buy from car part shops for mending bodywork in all the windows- maybe for a 'Precinct 39' type scenario.
And so to 'Kelly's Bar and Grill'. I thought it would probably have obscured windows, what with the pole dancing and all, so covered them over with some picture mounting card.
These two buildings are from Warbases, but I've tried to dress them up with broken 'tile' pieces which I bought some time ago and never used, plastic girder, plastic tube for pipework etc. It wasn't until I'd put them on a base that I made more of an effort with them.
I just took one of the bases and threw a few things on to make a scruffy vacant lot. Exotic future crate from Atenociti, skip from The Scene, but I can't remember the origin of the vehicle.
This is just another improvised base, with a plastic container for the column, a mini from CP Models, I think, an MDF 15mm base for the plaque and some walls I picked up at a wargame show. Very simple stuff I know, but good cover nevertheless.
This is my first attempt at zombies. these are from Rebel Minis, but I also have some on order from Khurasan. I'm fairly happy with the result. I painted the flesh a sort of mid grey and highlighted it, then picked out top detail with Vallejo Game Colour Dead Flesh. I've seen much better on your blogs out there, but this will do.
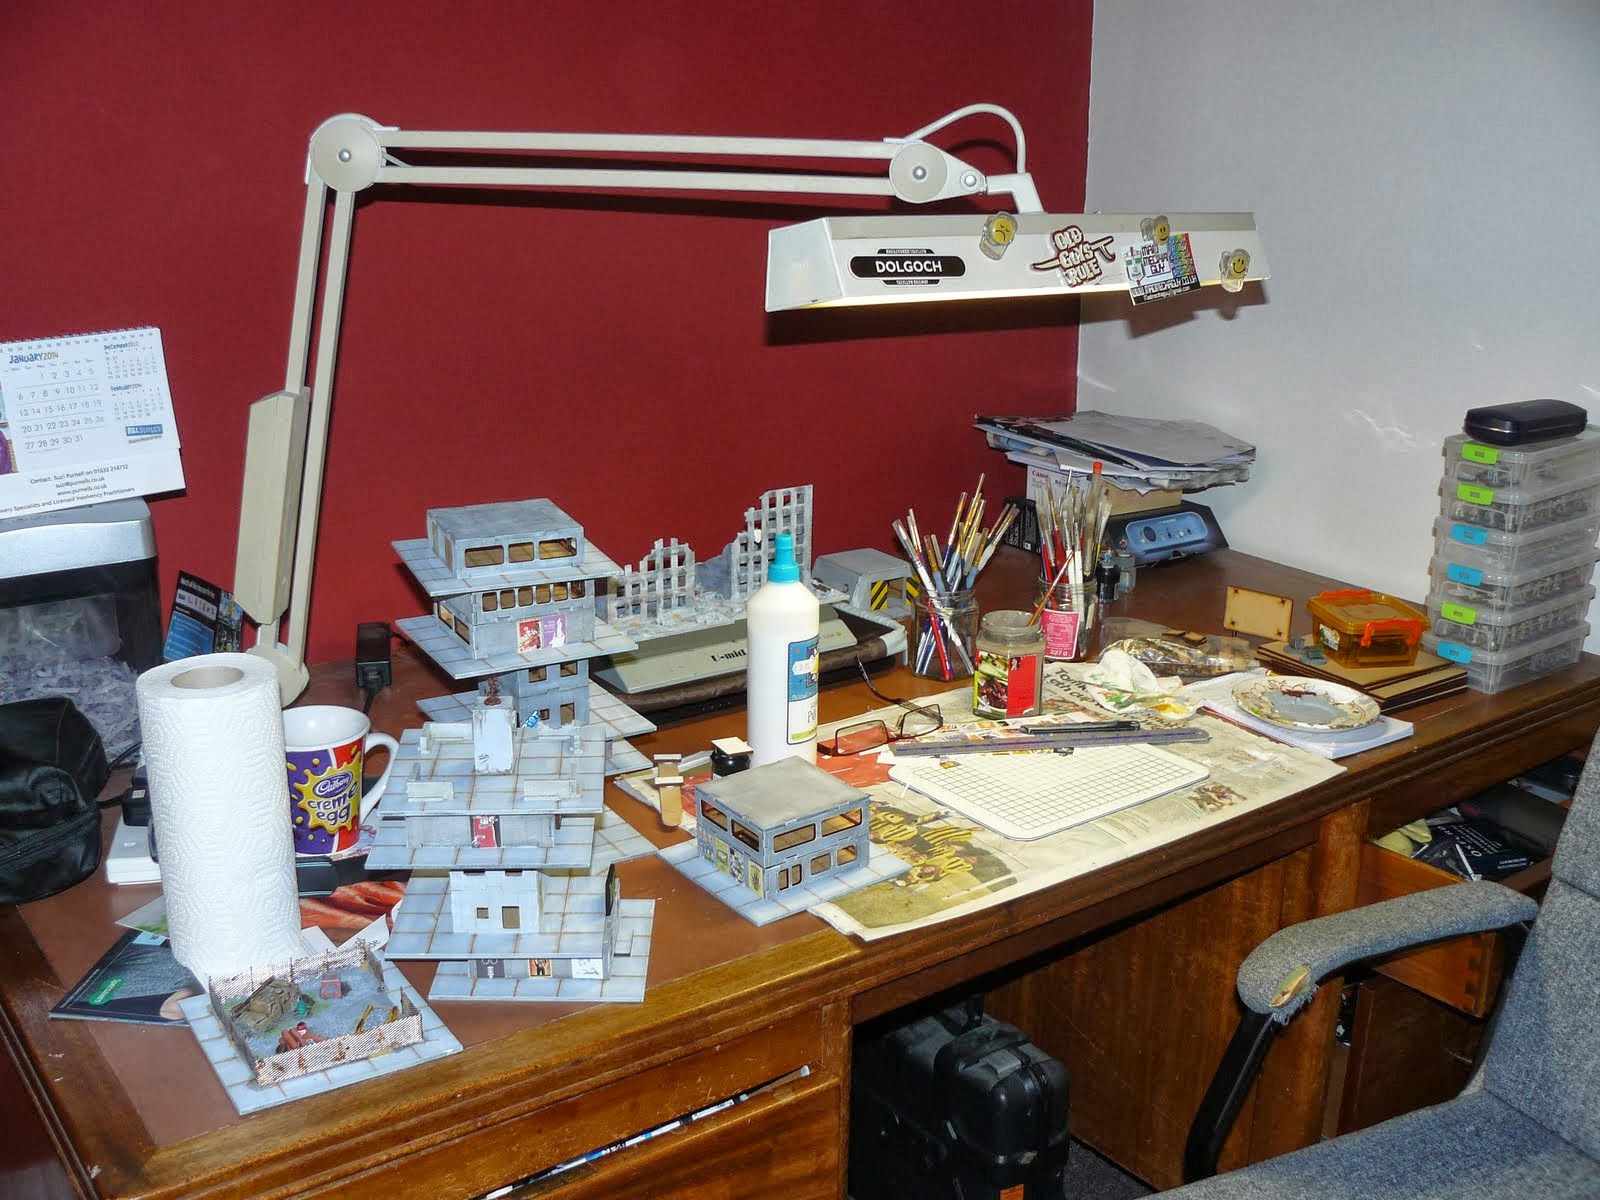
Finally, I have seen pictures posted of various bloggers work spaces, so I took a quick picture of my own chaos.....we're all the same!!
Thanks for stopping by.


Wow those buildings look bloody ace! Great work mate.
ReplyDeleteCheers Simon, greatly appreciated!
DeleteGreat stuff! About halfway through "upgrading" my models (which are mainly the same ones) I really started to wish that MMG had an option for acrylic windows cut to fit these buildings.
ReplyDeleteI have wondered about filling in the windows with something like acetate sheet or similar- that's nice and thin and can be cut with scissors. I also wavered about putting in the doors, and finally opted for 'some in, some out'!
DeleteSweet!
ReplyDeleteThanks Jay!
DeleteIncredible! You and Spacejacker are on a roll making some great terrain. I like the signs and posters on these which make them feel a lot more "real", but I think exterior details like vents, air conditioners/filters, ladders and fire escapes would make them look even better. The bank roof especially needs some micro and macro texture.
ReplyDeleteWell, I can hardly be put in the same category as Spacejacker, but than you kindly! I agree with you about some extra detail on the buildings. I do have some bits and pieces of vents, ACUs etc somewhere in the boxes of stuff that I can add, and I will consider the buildings a work in progress. Thanks for the suggestions, all gratefully received!
DeleteIn fairness to you, it can be really hard to find things like ladders in the right scale... and making them is harder than you'd think!
DeleteYes, I wouldn't like to make a ladder, but I have dug up some vents and grilles from somewhere, and some snazzy computer looking castings in resin, so I shall add some of these around for good measure. Thanks for the input!
DeleteReally like them alot!
ReplyDeleteIn fact, I need to get some
Plus
that is one really.....really tidy desk :)
Really?! You mean your workplace is worse!!!!
DeleteGreat looking buildings, I love the first one and the ruins!
ReplyDeleteThanks Phil! The ruins were great fun to do, and not at all difficult!
ReplyDeleteNice pieces, the posters & graffiti really bring them to life - I especially like the spaceman statue on the plinth.
ReplyDeleteMany thanks PC! I liked the idea of a quick fix with the posters- our printer is misbehaving, and there are pink stripes all over them, but it doesn't really show. The statue was dead easy- a base coat of GW scorched brown, then a dry brush of Army Painter Weapon Bronze- Ta-Dah! Allison (above) made a valid comment about vents and grills etc, so I may dress up the buildings a little more. Thanks for the comments!
ReplyDelete